Top Tips To Tile A Splashback
All you need to know about tiling your kitchen’s splashback –
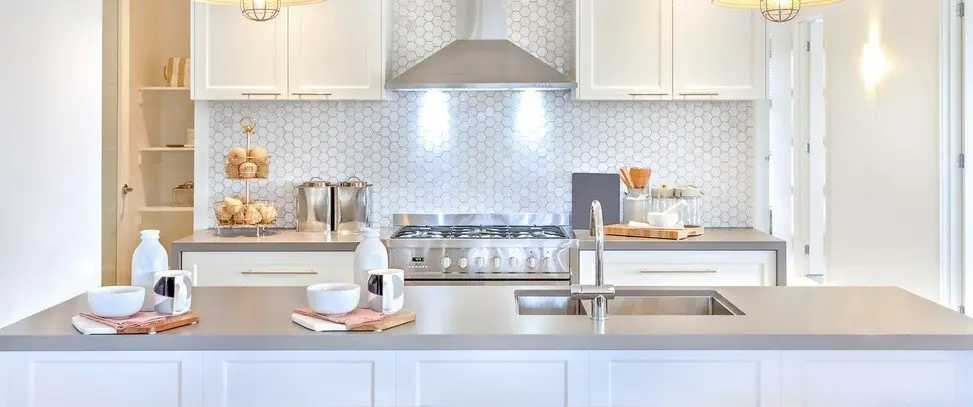
Here at The Glass Warehouse, we offer a bespoke glass splashback service to help you transform and protect your kitchen. The main job of kitchen glass splashbacks is to guard against everyday wear and tear but the question you may be asking yourself is what is the best way to tile a splashback?
Here is our list of top tips to help you with your DIY splashback:
- Collect your splashback supplies
Before you can begin the tiling process, you must make sure you have all the supplies you need in order to fit your splashback tiles correctly and ensure that your kitchen appears modern, sophisticated and efficient.
Here is your essential list of supplies:
- Tape measure
- Rules
- Pencil
- Tile trim
- Spirit level
- Tile adhesive
- Notched spreader
- Sponge
- Bucket
- Tile spacers
- Ready-mixed grout
- Grout spreader and finisher
- Trowel
- Measure the splashback space
First of all, you should measure the area you intend to place the tiles, which is usually behind a hob or oven, in order to protect your kitchen walls when cooking.
To measure the area correctly you must measure the width of the area and mark the centre point on the wall. Next, mark another centre point at the top where you want the tiles to end and then join the original centre point with the second marking by drawing a vertical line.
You should then lay out all your tiles, as well as the edging strip and spacers, in order to establish the full width of the tiling area.
- Level out the splashback
Prior to fitting the tiles, you must ensure that everything is level. You can do this by lining the centre of one of the tiles with the marked centre line.
Depending on the wall you are placing the tiles on, it may or may not be even. If it is uneven then you must fix a horizontal batten where you wish the correct starting point to begin. You should then centre it on the vertical line and place the top edge half a tile away from the splashback area, ensuring it is level.
- Time to tile a splashback
Before placing the tiles on the splashback area, you should first use a notched trowel to spread adhesive across the area in a horizontal motion.
Once the adhesive is spread across the whole area you should start from the centre point and place the first tile firmly against the wall. The second tile should be placed above, and then fit the rest of the tiles around it, making sure that they all have even spaces between them.
Make sure you wipe off any excess adhesive as you tile.
- Grout the gaps
Once the tiles are in place and the adhesive sets, you must fill in the gaps.
In order to do this, you should first remove the batten if you have one in place.
Next insert spacers at each corner in between the tiles – which may mean you have to adjust the tiles slightly.
You should then cut and fix any leftover tiles and place them in the bottom gap.
To start the grouting process you should press the tiles firmly against the wall and, starting from the bottom left, use your trowel to place a small amount of grout on the face of each tile. Then use a grout spreader to push the grout in to all the gaps in an upward and diagonal motion.
Once all gaps are grouted use a slightly damp sponge to remove all excess grout before it sets.
- Clean and seal the splashback space
As the grout begins to harden use a grout finisher to make sure all tiles appear neat. You will know when the grout has hardened as a powdery film will appear on the surface of the tiles, which you should clean off with a soft cloth or wipe.
Once the area is clear, you should place a drop of sealant across the splashback area, making sure the seal is smooth and allow it to dry.
Now you understand the process of tiling a splashback, why not take a look at our bespoke kitchen splashbacks? We guarantee they will give your kitchen the transformation it needs.
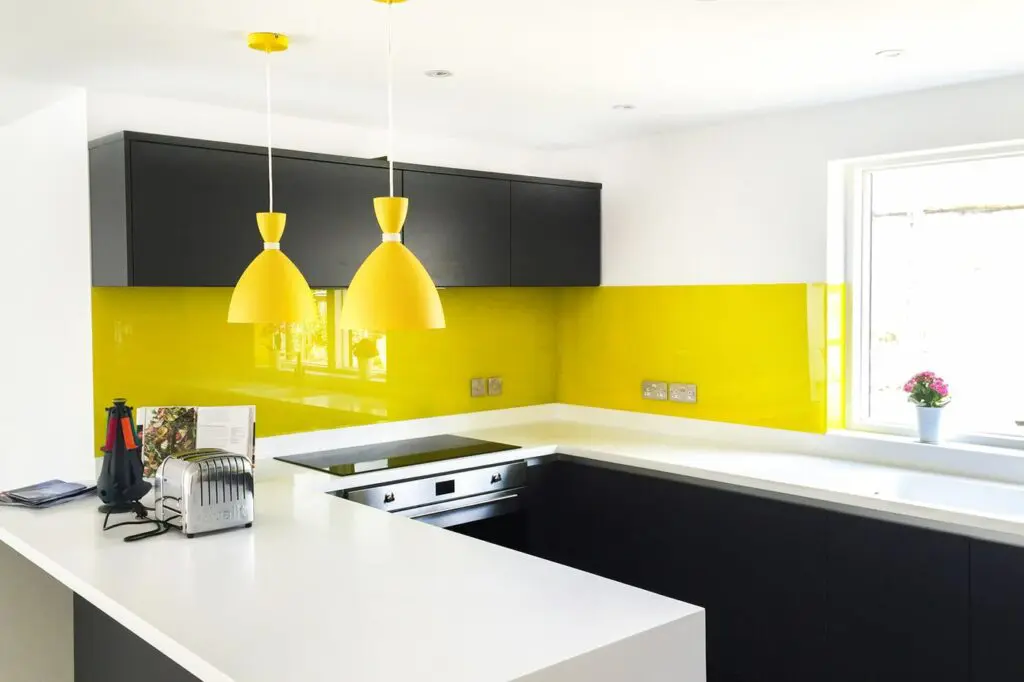
Here at The Glass Warehouse we offer a match service. Alternatively, you can choose any coloured or printed glass from our beautiful back painted coloured glass splashbacks, which can be fitted in your home or office. Our state-of-the-art splashbacks are guaranteed to give you the most beautiful, unique and practical kitchen you could ever imagine.
If you know exactly which splashback you would like you can order online today or contact us on 020 8500 1188.