How to Fit a Glass Splashback
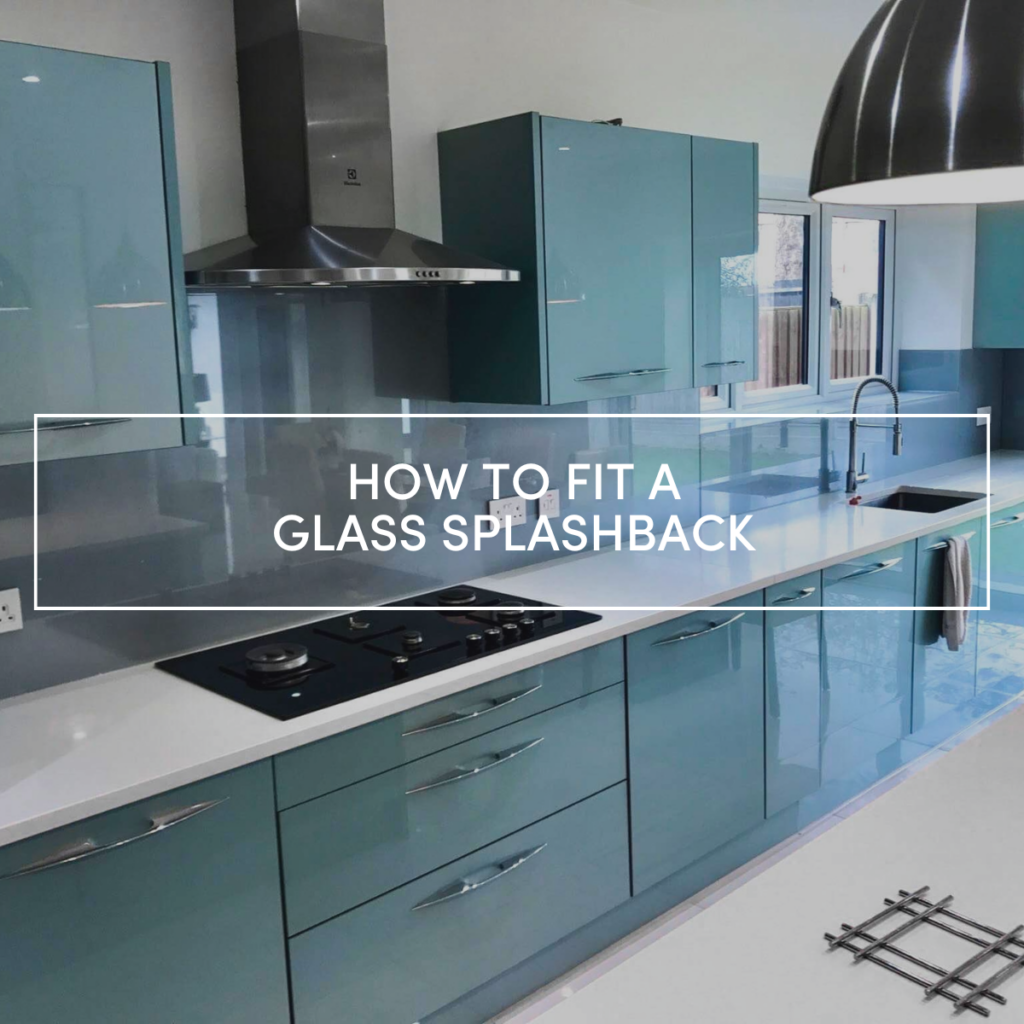
Installing a glass splashback is not only a great way to update the aesthetics of your space, but will also ensure your walls are protected against splashes and stains.
At The Glass Warehouse, we understand that the idea of fitting a glass splashback might seem daunting, but with the right tools and instructions, this process can be a straightforward DIY project. You can find the materials you’ll need for glass splashback installation on our website.
Then follow this detailed guide to install your new glass splashback effectively and safely.
How to Install Glass Splashback Products
It’s very important to always follow the manufacturer’s instructions for installing kitchen splashbacks if you want to successfully protect your wall from splashes.
Whether the glass splashback is going behind a cooker above the hob or behind a kitchen sink or worktop – or even behind a bathroom sink or worktop on top of tiles – you should check the product description and downloadable guides for compatibility.
It’s possible to order a bespoke glass splashback with pre-drilled holes and a pack of screws if you would prefer to mount it this way, but this would also require drilling into your wall. This guide explains how to mount kitchen splashbacks using a silicone-based adhesive instead.
Adhesive is a popular choice for installing splashbacks because it doesn’t require drilling holes for screws, which causes more damage to walls. As long as you’re careful with the adhesive and sealant, the process shouldn’t be too messy.
You can find the best adhesive for glass splashback installation in the glass fittings section of our website, available to order at the same time as your splashback.
Preparing to Install Your Glass Splashback
Before you begin the installation process, it’s crucial to prepare your workspace and gather all the necessary materials. Here’s what you’ll need:
- Measuring Tape: To accurately measure the space where you will install the splashback.
- Glass Splashback: Cut to size by The Glass Warehouse to fit your specific measurements.
- Non-Solvent Adhesive: To stick the splashback in place on the kitchen or bathroom wall.
- Clear Silicone Sealant: For sealing around the edges of the splashback glass panel.
- Alcohol Wipes: For easy cleaning of the surface before you install the splashback.
- Safety Gloves and Goggles: To protect your hands and eyes during the installation process.
Step 1: Measure the Space on Your Wall
The first step in installing your new glass splashback is to measure the area where it will be placed. Use a tape measure to take accurate measurements.
Ensure you measure the height and width at least twice to double-check, and consider any cut-outs for sockets or fixtures. At The Glass Warehouse, we can cut your glass splashback to these precise measurements for a perfect fit.
Step 2: Prepare the Wall to Fit a Glass Splashback
Any bumps or dirt can prevent the glass splashback from adhering correctly, so you must ensure the wall is clean, dry, and smooth before fitting the panel.
Avoid abrasive cleaners – simply use alcohol wipes to remove dirt and clean the area thoroughly, then allow it to dry completely. You can then use a soft cloth to wipe away any remaining dust, leaving a smooth and dry surface.
Step 3: Apply the Adhesive to the Back of the Glass
Carefully apply the non-solvent adhesive to the rear side of the glass splashback – we recommend using one tube of adhesive per square meter of glass.
Be sure to apply it in equally sized blobs around the edge of the entire surface. Staying close to the edges – but not so close that it leaks out – will help to create a seal that prevents water and dust from getting behind the splashback.
Step 4: Position the Toughened Glass Splashback
Before the adhesive cures, gently lift the glasssplashback whilst aligning it with the wall. When you’re sure it’s in the right position, press it against the wall.
It’s helpful to have an extra pair of hands on deck during this step to make sure it doesn’t slip. You may also want to use a spirit level or spacers to adjust the splashback, ensuring it’s perfectly aligned with the edges of your measured area.
Step 5: Seal the Edges with Silicone Sealant
Once the glass splashback is in place on the wall, apply a thin bead of silicone sealant along the edges to seal any gaps and press the sides down using light pressure.
Sealing the edges with silicone will help to further secure the splashback and prevent moisture from getting in the cracks and building up behind it. Otherwise, this could leave stains on the wall if you remove the splashback in the future.
Step 6: Clean and Finish Fitting Your Splashback
If there is a protective film on the glass, you should peel this off, as it can affect the smoothness of the surface and the depth of colour if this is left on.
Wipe away any excess silicone and clean the front of the splashback with glass cleaner and a soft cloth to remove fingerprints or smudges. Allow the adhesive and silicone to cure for at least 24 hours before using the area heavily.
Final Thoughts on Installing a Glass Splashback
A glass splashback is a stylish and functional addition to any kitchen, and with the right preparation and care, you can fit a glass splashback to your wall with ease.
If you’re looking for a custom glass splashback, The Glass Warehouse offers a variety of toughened glass options to suit your style and functional needs. No matter the paint colour or if you’re using wall tiles, we have a glass splashback design that will work for the wall space behind your hob, cooker, worktop, or sink.
Visit our online shop to explore our full range of bathroom and kitchen splashbacks. When you click through to a product page, you’ll find detailed information on the product type and how to order your bespoke glass splashback.
For further assistance or to discuss your specific requirements, please get in touch. Our friendly team is here to help with fitting the perfect glass splashback!